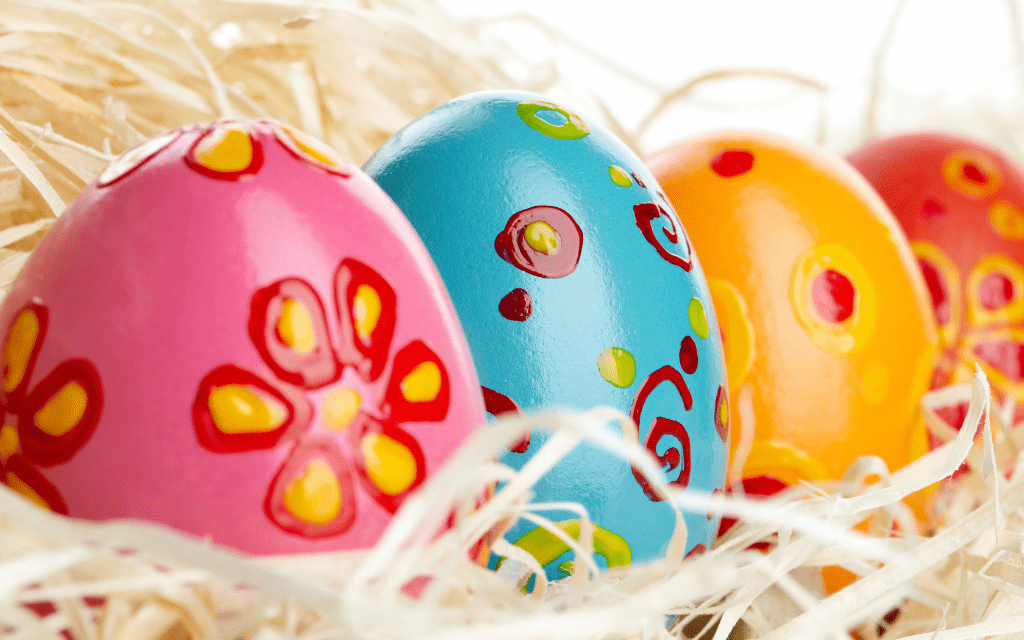

Playdough is so much fun to play with! As a child, I would spend the summer months creating many things. Homemade Playdough is still one of my favorite sensory activities. We tend to get a little wild experimenting with different textures with Easter Playdough and DIY Playdough.
It is heartwarming to do the same activity with my sons and family. My nephews and niece adored making homemade Easter playdough, and my youngest son, Anthony, loves it.
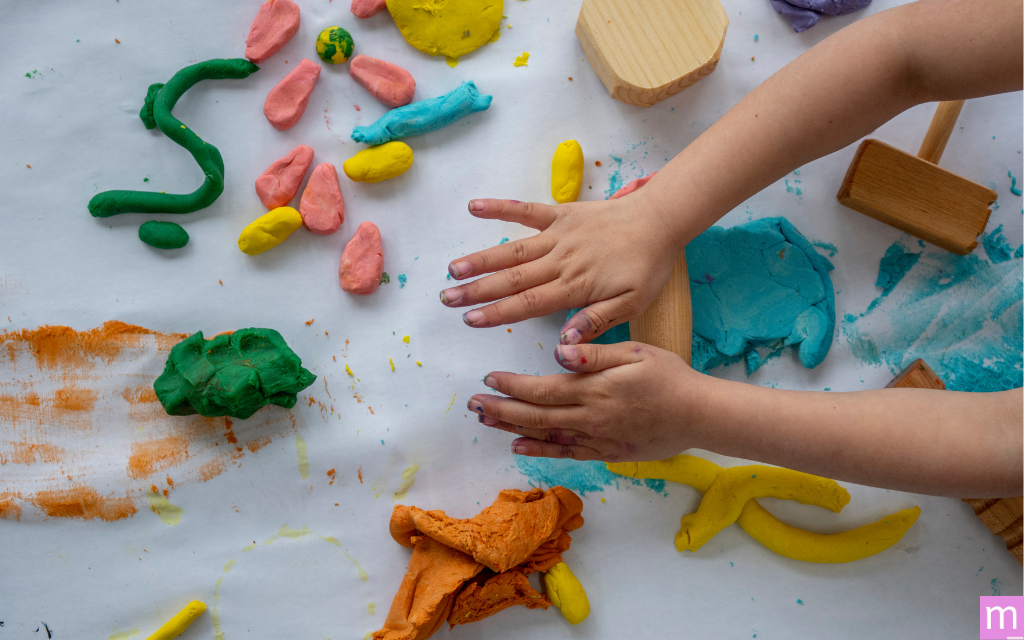
Playdough is a beautiful sensory development activity that kids can make themselves. Not only is it therapeutic, but it is also fun to make! The art of molding, sculpting, and shaping something delights people of all ages.
I have been trying various recipe experiments for over a decade to encourage my little ones to express their creativity, and I will share my experiences in this creative post.
I will detail Playdough, the different types, the easiest ways to make it, whether to cook it and why it’s the perfect sensory activity for kids of all ages.
This page contains affiliate links, and I earn a commission if you make a purchase through one of the links at no cost to you. As an Amazon Associate, I earn from qualifying purchases.
What is homemade Playdough?
Homemade Playdough is a safe, non-toxic dough made with readily available household ingredients like flour, salt, water, and oil. Tartar cream is a popular ingredient for making Playdough softer and last longer.
Kids get to experiment with different textures and play with cooking supplies like flour and cornstarch. Playdough has always been a fun and educational sensory activity for children.
Using food coloring changes the colors and makes for a fun time all year round.
It can keep them entertained for hours while fostering creativity, developing fine motor skills, and promoting imaginative play.
Making crafts is a must for Easter in my home. We enjoy making Playdough with different scents, such as soft and wonderfully scented hair conditioners.
How many types of homemade Playdough are there?
There are five popular ways to use Playdough, and I’ve created a list to help you understand them. Our favorites to make are the classic Playdough and Cloud Playdough.
1. Classic Playdough
Nothing beats the classic! Classic Playdough is the most common type and offers a versatile base for various playdough creations. Classic Playdough is fun and has multiple recipes to create memories for a lifetime. This is a no-cook recipe I found to be a great Pinterest pin.
2. Salt DIY Playdough
This type uses salt instead of cream of Tartar and dries hard, making it ideal for crafting permanent keepsakes. The salt dough will suit a crafting project if you have a little crafter in your home.
3. Cook homemade Playdough
This version requires cooking but offers a more pliable, shelf-stable playdough. Many people like to cook Playdough to extend its shelf life. Experiment using a stove or no stove and see which easter playdough is the quickest to make.
Oil, food coloring, cream of tartar, and salt are popular choices for making homemade playdough for this pin. I loved their results!
4. Cloud Dough – DIY Playdough
This unique type mimics clouds with a light and fluffy texture. It reminds me of a light, fluffy pancake! I enjoy making these for Easter playdough fun due to the lightness and easter egg color-like appearance. Johnson’s baby lotion, corn starch, and food dye are used above to create this beautiful colored playdough.
5. Fizzy DIY Playdough
This Playdough incorporates baking soda for a fun science experiment element, creating a fizzy reaction when combined with vinegar.
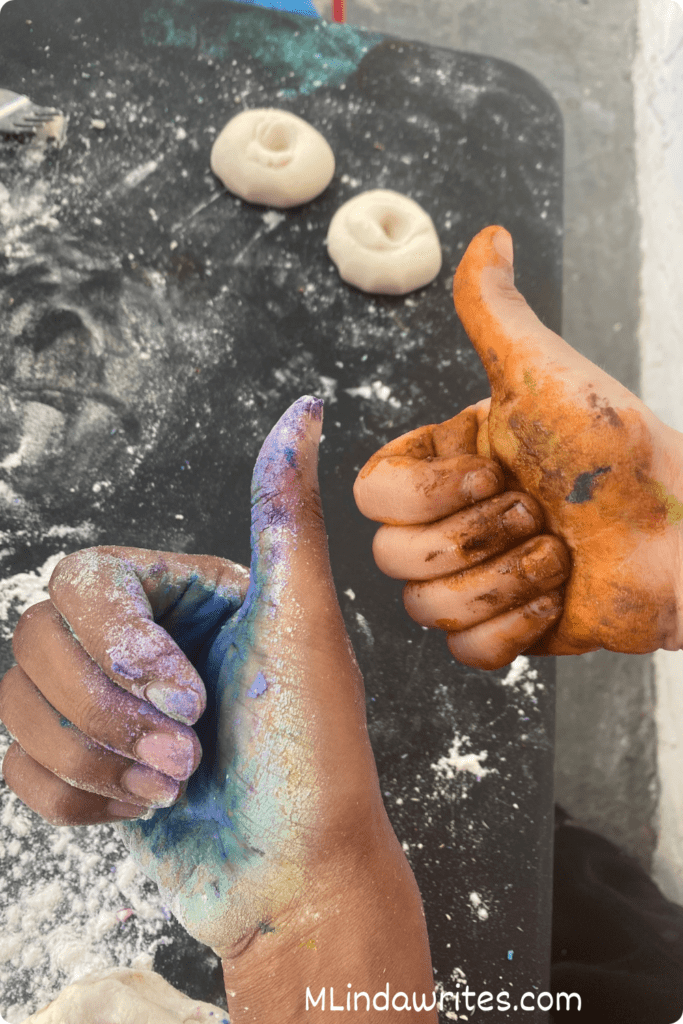
It can get messy, so I suggest having fun outdoors with this activity! Wear old clothes to prevent ruining your nice clothes.
You can tap the icons above and below this page to contact me through Facebook, Twitter, LinkedIn, or Pinterest. If you need writing services, you can also use this form here.
What is the easiest way to make DIY Playdough?
Cloud dough!
The short video clip above by Active Littles is the best clip I’ve found on how to do this. The easiest way to make homemade Playdough is to follow the recipe above on Pinterest.
The recipe only requires two ingredients to make homemade Playdough, and surprisingly, here they are:
- cornstarch
- baby lotion
That’s it! You will need food dye or a Kool-Aid mix to make the colors, but the base is effortless. If you don’t like the hassle of cooking your playdough, this is your quick go-to homemade Playdough for Easter.
To Cook or not to cook Easter Playdough? Don’t eat it!

Moreover, there are mixed reviews about whether the DIY playdough should be cookable. According to my research, I understand that it has a longer shelf life if you cook it.
In addition, it is up to you, depending on how long you want it to last.
There are two main ways to make easy homemade Playdough: with or without cooking. Here’s a quick rundown of both methods:
Cooked DIY Playdough
This method takes longer but can ultimately result in smoother and more durable Playdough.
Ingredients:
- 1 cup flour
- 1 cup of water
- 2 teaspoons cream of Tartar (optional)
- 1 tablespoon vegetable oil
- Food coloring (optional)
Instructions:
- In a medium saucepan, whisk together the flour, cream of tartar, and salt.
- Stir in the water and oil.
- Cook over medium heat, stirring constantly, until the mixture thickens and forms a ball.
- Turn off the heat and transfer the dough to a lightly floured surface.
- Knead the dough until it’s smooth and elastic.
- Let cool completely before storing in an airtight container at room temperature.
No-Cook Easter Playdough
This method is fast and requires minimal ingredients you already have. Check your cupboard out, and let’s get into it!
Ingredients:
- 1 cup flour
- ½ cup salt
- ½ cup water
- One teaspoon of vegetable oil
- Food coloring
Instructions:
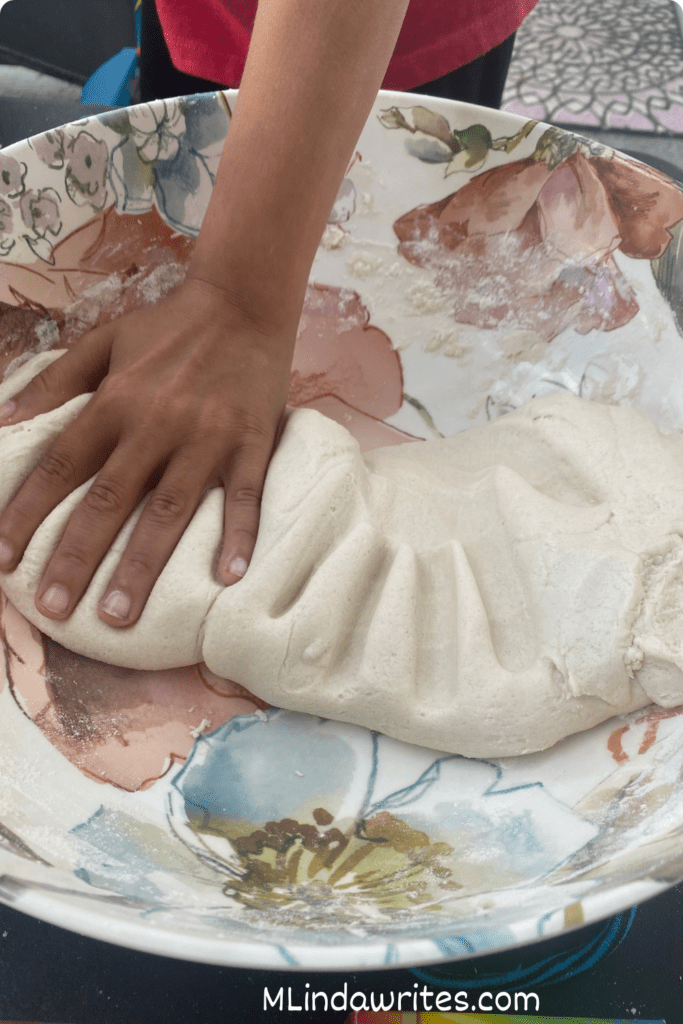
- Mix the flour and salt in a bowl.
- In a separate cup, combine the water, oil, and food coloring (if using).
- Pour the wet ingredients into the dry ingredients and mix until a dough forms.
- Knead the dough on a lightly floured surface until it’s smooth and elastic.
- Store in an airtight container at room temperature.
Tips: No matter which method you choose, add a few drops of essential oil for a pleasant scent or glitter for some sparkle!
In addition, here are some more tips I’ve found helpful for making homemade Playdough:
- If the dough is too dry, add a little more water, one tablespoon at a time.
- If the dough is too sticky, add a little more flour, one tablespoon at a time.
- You can use Kool-Aid instead of food coloring for a scented and colorful playdough.
- Store the Playdough in an airtight container to prevent it from drying out. It should last for several weeks.
With the tips above, you’ll have fun Playdough for days or months. Let the fun begin this Easter!
Why does it make the perfect sensory fun for kids?
Making homemade easter Playdough is fantastic for sensory fun because it engages multiple senses simultaneously. It has helped my son Anthony with better behavioral moods and with trying new foods. It’s an immersive experience for kids. Here’s how it hits all the marks in my book of go-to sensory activities:
Touch
Playdough’s texture is soft, squishy, and moldable, making it inherently fun to play with. My son Anthony loves to play with It, which helps him distinguish between different textures.
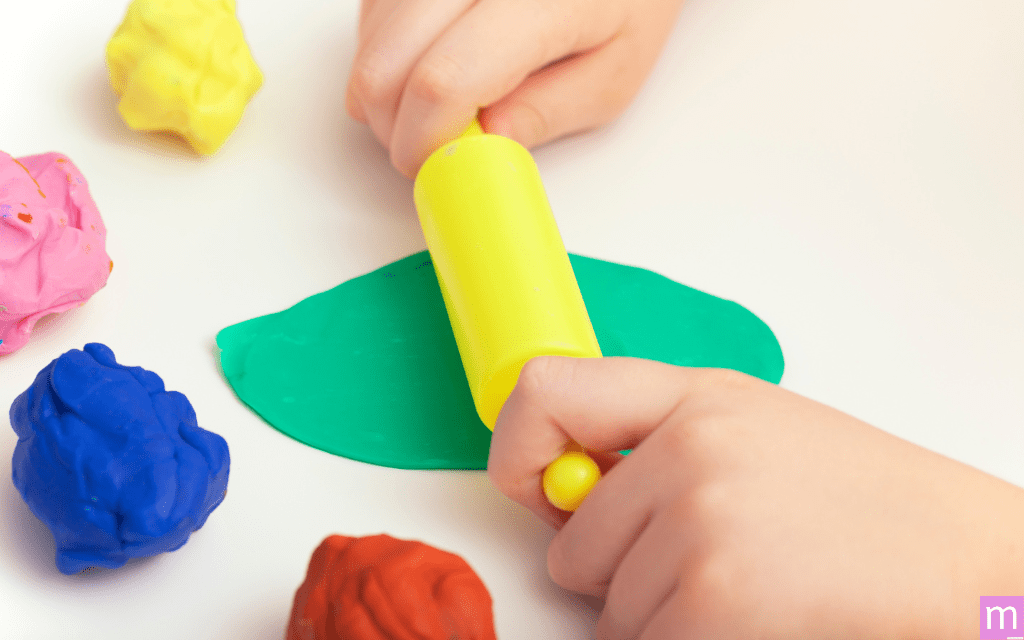
Children can enjoy squishing it between their fingers, rolling it out, poking it with tools, and feeling the resistance as they shape it. For each child’s specific need, these activities provide various tactile experiences that can be calming or stimulating.
Sight
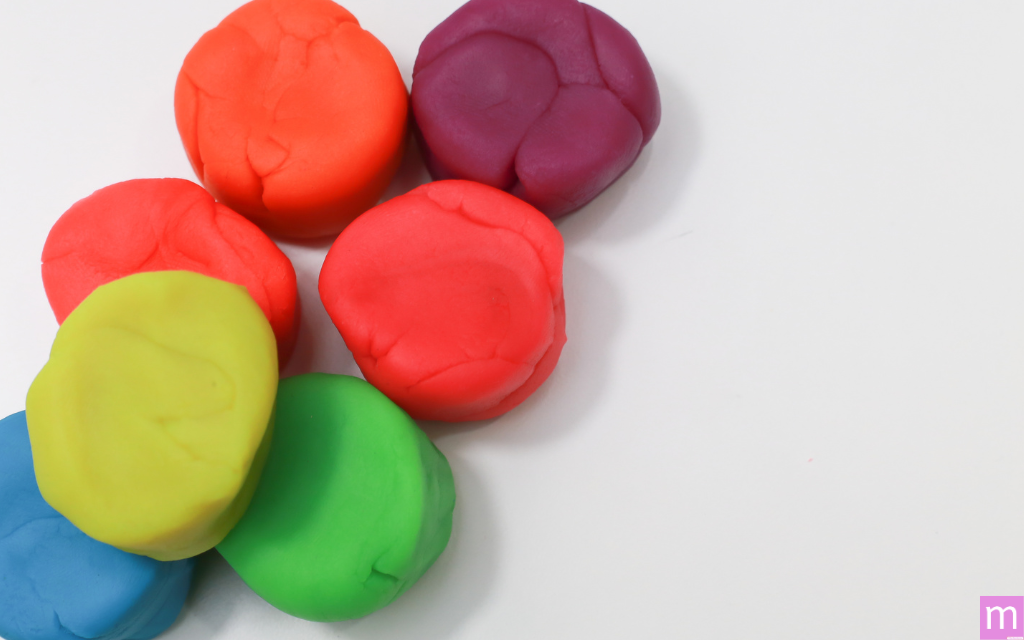
Playdough comes in various colors, which can visually stimulate children. They can create colorful creations or mix colors to form new ones, sparking their creativity and imagination. I love to use bright gel food dyes to make the colors pop!
Smell
Scented Playdough adds another layer of sensory fun. Popular scents include vanilla, lemon, and even chocolate chip (though it’s not edible!). Depending on the scent, these scents can be calming or invigorating.
Sound
Squishing, rolling, and cutting Playdough creates various sounds that can be part of the play experience.
Some kids might enjoy the squishing sounds, while others might find the repetitive sounds calming. Anthony enjoys different sounds and is enthusiastic about ASMR and YouTube visuals.
ASMR is a wonderful sound therapy that stands for autonomous sensory meridian response. Click here if you’d like to learn more about this peaceful sensory therapy.
Overall, DIY Playdough provides a multi-sensory experience that can be fun and engaging for children. It caters to different sensory preferences, making it an excellent activity for many kids.
Moreover, now that we understand the different types of Playdough and how to make them, let’s hop into the fun this Easter. Roll your sleeves up—it’s going to get messy!
Two Creative Easter Playdough Recipes to make this Spring
Easter Playdough tray
An Easter playdough tray is a fun and easy way to entertain your kids for hours while letting them explore their creativity!
Here’s how to make one:
Materials:
- Divided plastic container or baking sheet
- Playdough (homemade or store-bought in Easter colors like yellow, pink, blue, and green)
- Easter cookie cutters (bunny, chick, egg shapes)
- Rolling pin (optional, a small bottle can work too)
- Playdough tools (plastic knives, spoons, graters, extruders)
- Loose Easter-themed items (pom poms, googly eyes, buttons, pipe cleaners, mini plastic eggs, colored shredded paper) You can find most of these things at your local craft store or Walmart.
Instructions:
Follow these three easy steps to get started having playdough fun today!
- Prepare the Easter Playdough:
- If you are making your own, check out the information above, where I mention the cooking and no-cook homemade playdough recipe. Make sure the colors are festive for Easter.
- If buying store-bought, pick out colors that complement each other.
2. Arrange the homemade Playdough:
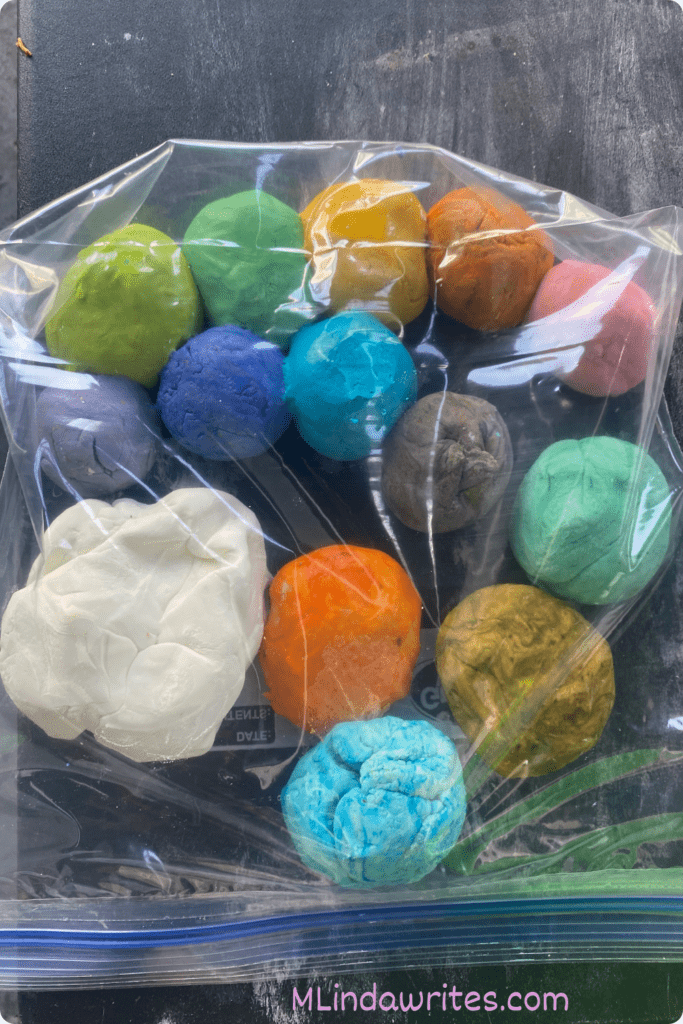
- Divide your tray into sections, or place the playdough balls in the container.
3. Add the Easter Fun:
- Place the cookie cutters and rolling pin (or bottle) next to the homemade Playdough.
- Arrange the loose Easter-themed items in separate tray sections or small bowls for easy access.
Tips:
- Make it a sensory adventure! The possibilities are endless, and making Playdough have different scents makes the sensory experience more enjoyable.
- Add scented Playdough (lemon for sunshine, vanilla for sweet treats) or mix in small, safe objects like glitter or crushed dried flowers.
- Cater to different ages. For younger children, keep it simple with just a few colors and tools. Older children can handle more complex shapes and decorations.
- Encourage storytelling! Let your child use the Playdough and accessories to create scenes and tell stories about the Easter Bunny or springtime. Anthony and I enjoy making fun stories together during playtime with playdough.
- Clean-up is part of the fun! Involve your child in putting away the Playdough and storing the tray neatly.
With some creativity, you can make an Easter playdough tray to entertain your kids for hours!
Nonedible Microwaveable Peeps Easter Playdough recipe
I found the recipe on activelittles.com and found it the simplest method for creating this fun Easter playdough.
Ingredients:
5 PEEPS® Marshmallow Chicks
3 Tbsp powdered sugar
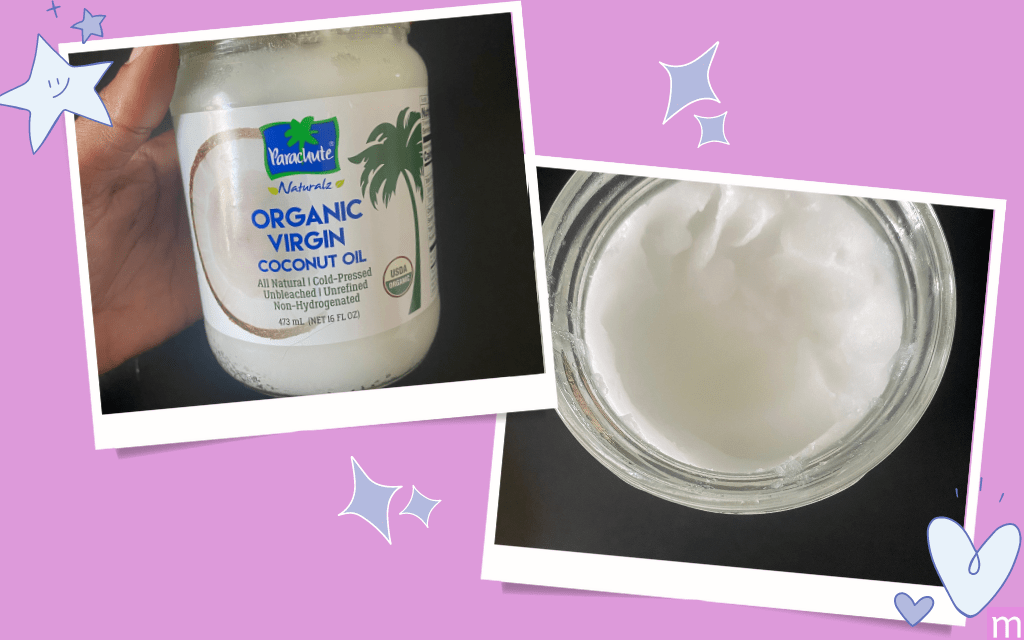
2 tsp coconut oil
I found this coconut oil to smell so sweet and natural. I love this! Bonus: I use it for everything now! Cooking, hair, skin, you name it!
Instructions:
1. Microwave the Peeps and Oil:
In a microwave-safe bowl, combine the Peeps and coconut oil—microwave for 10 seconds only. Be careful; the mixture will be hot! The Peeps will puff up slightly.
2. Mix in the Powdered Sugar:
Gradually add the powdered sugar to the hot Peep mixture using a spoon or a sturdy spatula. The dough will start to come together and become less sticky.
3. Knead and Play:
Once the dough is no longer sticky and feels smooth-ish, turn it onto a lightly floured surface (use a little extra powdered sugar here if needed). Knead for a few minutes until it reaches a Playdough consistency.
4. Store and Enjoy:
Let the Peeps Playdough cool completely before storing it in an airtight container at room temperature. It should stay fresh for up to 3-4 days.
Tips:
- Adult supervision is recommended, especially during microwaving.
- You can substitute coconut oil with vegetable oil, but coconut oil helps give the dough a smoother texture.
- If the dough feels too sticky, add more powdered sugar, one tablespoon at a time, until it reaches the right consistency.
- This Playdough is not edible due to the added ingredients.
As you can see,
With these two simple ideas, you can find many ways to blast with DIY easter playdough. There are tons more ideas I cannot wait to write about. Homemade Playdough is a non-toxic, safe dough made with household ingredients.
It is a fun, educational sensory activity for children that encourages creativity, develops fine motor skills, and promotes imaginative play. Antony has hours of fun playing with homemade Playdough, and I’m sure your kiddies will, too.
In this post, I discussed the main types of Playdough. Five popular types are classic, Salt Dough, Cook-Playdough, Cloud Dough, and Fizzy Playdough.
It is fun to make different Playdough for Easter. There are two main ways to make homemade Playdough: with or without cooking.
No-cook Playdough is fast and requires minimal ingredients, while Cooked Playdough takes longer but results in smoother and more durable Playdough.
Let your creativity sore away and create fun times for you and your little ones to remember for life.
Happy Easter!
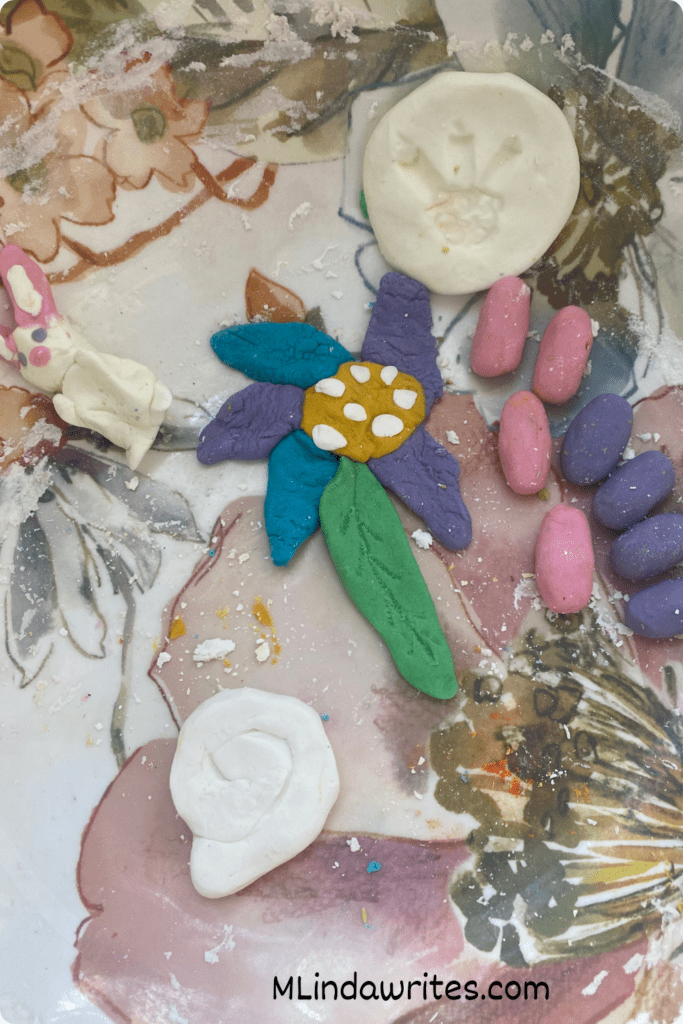
Anthony and I made some fun creations with these great tutorials. Check them out below! We made homemade playdough (non-cook) and cloud dough!

If you’re looking for an excellent content writer to help you today, look no further. Click here to fill out this form. The privacy policy page is here.
Marlenny Linda is more than just a writer; she's a passionate bilingual advocate for families with children with medical conditions. With a background in teaching English (TESOL/TEFL) and a Bachelor of Science in Liberal Arts, she crafts engaging, SEO-optimized content that informs, inspires, and connects with these families.
Her specialty is long-form content, where she dives deep into the topics that matter most, from navigating educational resources to fostering a fulfilling life for your child. Marlenny's innovative approach keeps audiences engaged and coming back for more.