Achieve a professional smile with these two simple ingredients for at-home teeth whitening.
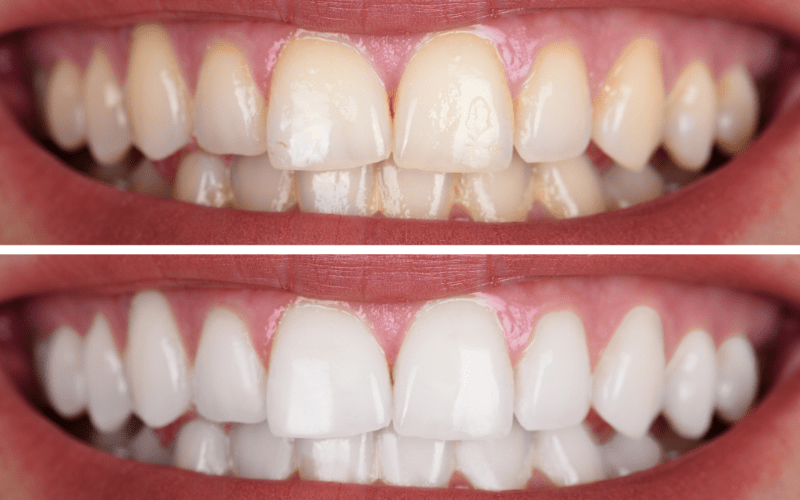
Have you ever dreamed of having a beautiful and bright smile? Now you can have it!
My parents always taught me that the best thing I can wear is my smile.
Staying on top of dental visits and having teeth aligned are essential.
Not only does having a nice smile help our overall health, but it looks amazing, too!
Although professional whitening treatments are fantastic, they can be expensive.
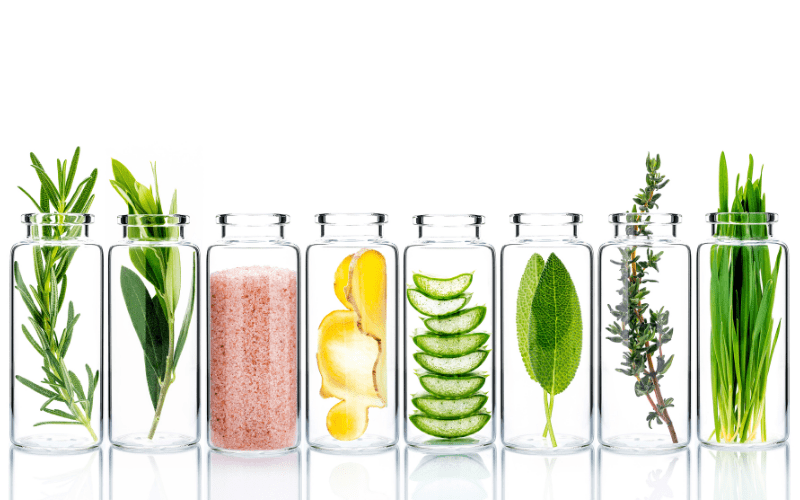
Teeth usually start to turn yellow due to time and bad habits.
However, there is a way to get your smile white again and quickly.
Things like:
- Coffee
- Tea
- red wine
- Or even just brightly colored sodas with dyes can create ugly surface stains.
Get Started: Why DIY Teeth Whitening?
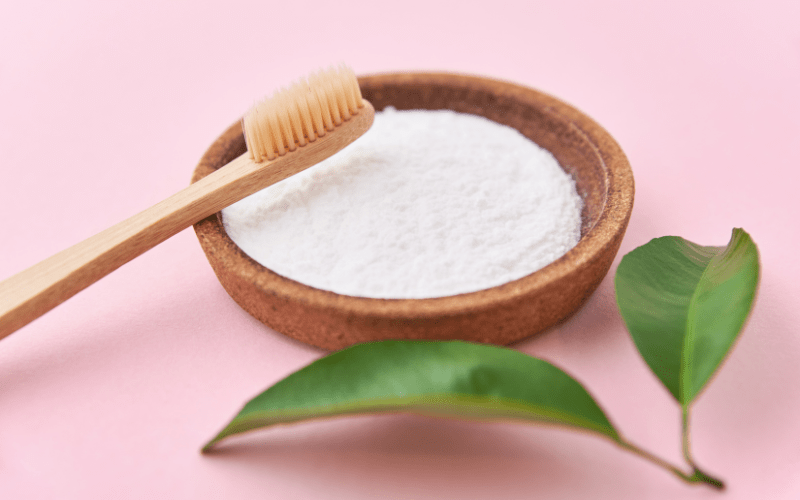
The secret to this budget-friendly hack is using baking soda and hydrogen peroxide.
Together, they form a powerful, yet gentle, scrubbing and lightening paste.
I will also mention a convenient method for those who are sensitive to the ingredients mentioned above.
Having a beautiful white smile helps your confidence, too, so it’s a win-win!
⚠️ READ THIS FIRST (IMPORTANT SAFETY WARNING)
Before you start any home whitening routine, follow these tips below.
You must talk to your dentist first, especially if you have:
- Sensitive teeth
- Damaged enamel
- Exposed roots
- Or any crowns/fillings.
This DIY tip is great for general brightening.
However, it’s not a replacement for professional dental cleanings or solving existing problems.
Be realistic about your dental needs.
Have an honest conversation with your dentist about your oral hygiene.
Lastly, come up with a plan for if something goes wrong with your DIY teeth whitening.
The Power Duo for Teeth Whitening: How They Work

Baking Soda (The Gentle Scrubber)
Baking soda, or sodium bicarbonate, does two important things for your teeth:
- Scrub Away Stains: It’s a mild powder with a fine, granular texture. When you brush with it, it acts as a gentle abrasive. It lightly scrubs the surface of your teeth to remove recent, superficial stains that are just sitting on your enamel.
- Fight Mouth Acid: It helps neutralize the acid levels in your mouth. A balanced pH means less acid damage, which keeps your mouth healthier overall.
- Bonus: Using baking soda on your tongue works wonders for your oral hygiene. You will have a fresh pink tongue if you use it each morning and at night.
Hydrogen Peroxide (The Mild Bleach)
Hydrogen peroxide is the whitening powerhouse in this duo:
- The Bleach Effect: It acts as a mild bleach. You must only use the common 3% concentration that you find in any drugstore for treating minor cuts.
- Lifts Deep Color: When it touches your teeth, it releases tiny oxygen bubbles. These bubbles penetrate the outer layer of your tooth enamel and break down the deep color molecules that cause set-in stains. This is what truly lightens your teeth!
- Tip: Dilute the hydrogen peroxide with an equal part of water so that you can ensure safety for this process.
Your Step-by-Step Teeth Whitening Recipe
Ready to mix up your paste? It’s simple, but precision matters here.
What You Need
- Baking Soda (Fresh is best)
- 3% Hydrogen Peroxide
- A small, clean bowl and spoon
- A clean, separate “teeth whitening-only” toothbrush (Please, do not use your everyday brush!)
Mixing the Paste (Think Toothpaste)
- The Easy Ratio: Mix about 1 teaspoon of peroxide with 2 teaspoons of baking soda.
- Goal: Stir it up until it looks exactly like a thick, gritty toothpaste. If it’s too watery, add a little more baking soda. If it’s too powdery, add a tiny drop of peroxide. Balance it out!
Brush, Hold, and Rinse!
- Pre-Clean: Brush your teeth first with your regular toothpaste to get rid of any food debris.
- Apply Gently: Dip your special whitening brush into the paste and brush gently onto the front of your teeth in light, circular motions. Crucially, avoid scrubbing your gums!
- Timing is Everything: Leave the paste on for only 1 to 2 minutes MAXIMUM. Leaving it longer will cause pain and could potentially damage your enamel.
- Rinse: Rinse your mouth completely with warm water until your mouth feels clean. Ensure you don’t feel any grit left behind.
Safety Rules: Use the Method Safely
Because this method is highly effective, it also carries risks if you overuse it. Please follow these rules closely and be mindful of your enamel with your teeth whitening routine.
Don’t Hurt Your Enamel
- Rule #1: Use It Sparingly! Never use this paste more than once or twice a week, maximum. This isn’t your daily toothpaste. Overuse is the fastest way to make your teeth sensitive and can wear down your protective enamel.
Gum Irritation
- If the paste accidentally gets on your gums and causes a slight burning, stop. Also, if you see a white appearance, stop immediately and rinse your mouth thoroughly with salt water.
Stop If It Hurts
- If your teeth become extremely sensitive to hot or cold after treatment, stop using the paste immediately. Switch to a toothpaste made specifically for sensitive teeth for a few weeks to let your teeth recover.
- Bonus: Natural toothpastes that help: Tom’s of Maine Rapid Relief Sensitive, Sensodyne, Colgate sensitive pro-relief.
Who Should Skip This Home Whitening for Teeth DIY Recipe?
- If you have crowns, veneers, or lots of fillings. The whitening only works on natural tooth material, meaning your dental work won’t change color, and you’ll end up with a mismatched smile!
- If you have cracked teeth or major gum issues.
- However, For those with Gingivitis, baking soda alone can help relieve and heal the symptoms naturally.
- You can also try an alum rinse for your gums, which helps as an astringent.
Keep Your Smile Bright: Natural Maintenance
Once you’ve achieved your desired brightness, you want to keep it that way! Here are some natural, everyday tips.
Everyday Stain Fighters
- Quick Rinse: Swish water around your mouth for 30 seconds after drinking coffee, red wine, or highly pigmented foods (like berries or tomato sauce).
- Use a Straw: Using a straw for dark liquids helps bypass the front of your teeth, where staining is most visible.
- Basic Care: Never skip your morning and night brushing and flossing routine!
Natural Cleaner: Coconut Oil Pulling
This is a fantastic way to maintain a clean mouth:
- What to Do: Swish 1 tablespoon of melted coconut oil around your mouth for 10 to 20 minutes (yes, it’s hard, but worth the effort!). Spit the oil in the trash, not the sink (it can clog drains).
- The Benefit: While it doesn’t bleach teeth like peroxide, it’s believed to pull away bacteria and plaque. This helps reduce the stickiness where new stains like to form.
Other Options
If you need a break from DIY, there are great options available.
Store-bought whitening strips and also custom-fit trays prescribed by your dentist are available.
Conclusion
For an optimal white smile, home whitening for teeth is easy when using two simple ingredients.
This baking soda and peroxide method is a quick, easy, and cheap path to a brighter smile.
Just remember the one golden rule: use it in moderation!
Your enamel is precious, so treat it with care.
Will you try the whitening paste or the oil pull first?
Sign up for my newsletter for updates on new blogs below and receive free checklists today!
Click here for human-written content, and enjoy more blog posts!
Marlenny Linda is more than just a writer; she's a passionate bilingual advocate for families with children with medical conditions. With a background in teaching English (TESOL/TEFL) and a Bachelor of Science in Liberal Arts, she crafts engaging, SEO-optimized content that informs, inspires, and connects with these families.
Her specialty is long-form content, where she dives deep into the topics that matter most, from navigating educational resources to fostering a fulfilling life for your child. Marlenny's innovative approach keeps audiences engaged and coming back for more.